At Copresence, we’re revolutionizing how you interact with the digital and physical world. Imagine creating a perfect replica of yourself as a physical model. With our technology, that’s not just possible – it’s simple, accessible, and incredibly fun.
Introducing: Print Yourself!
Gone are the days of relying on expensive service providers or struggling with cumbersome photogrammetry methods to get a 3D model. With the Copresence app, you can scan yourself, generate a 3D model, and export it for further processing – all from the comfort of your own home.
The only thing left to do? Let your creativity shine as you prepare your model for 3D printing.
Ready to express yourself? Let’s dive in!
Step 1: Scan and Export Your Avatar
Start by using our app to scan yourself and generate a lifelike avatar. Instructions can be found at: Copresence - Get Started
Once you’ve exported your model, you’re ready to edit and prepare it for printing. Our app ensures a streamlined process, removing the hassle of traditional methods.
Step 2: Edit Your Model for Printing
This step requires basic familiarity with Blender or similar 3D modeling software. Here’s how to perfect your model:
Clean Up the Model
- Remove unnecessary parts like eyelashes, teeth, or excess geometry.
- Keep only the main head mesh and inner eyeballs.
- Use Blender: Select “semantic_skin” and “semantic_inner_eyeball” vertex groups → “Select” → Press
Ctrl + L→Ctrl + I→ Delete unnecessary vertices.
Pose and Refine the Avatar
- Adjust pose and expression using shape keys.
- Add a subdivision modifier for detail (make a backup first).
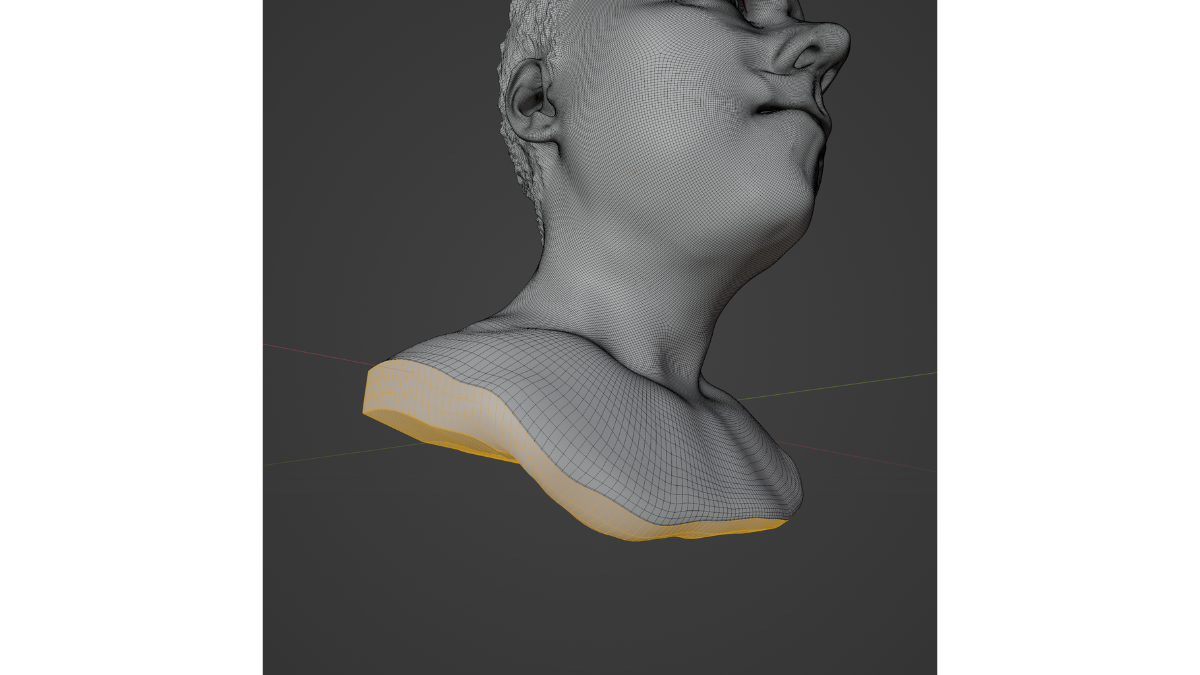
- Close off the bottom of the mesh using edge loop extrusion (
Alt + Click,Extrude,Scale,Merge).
Example:
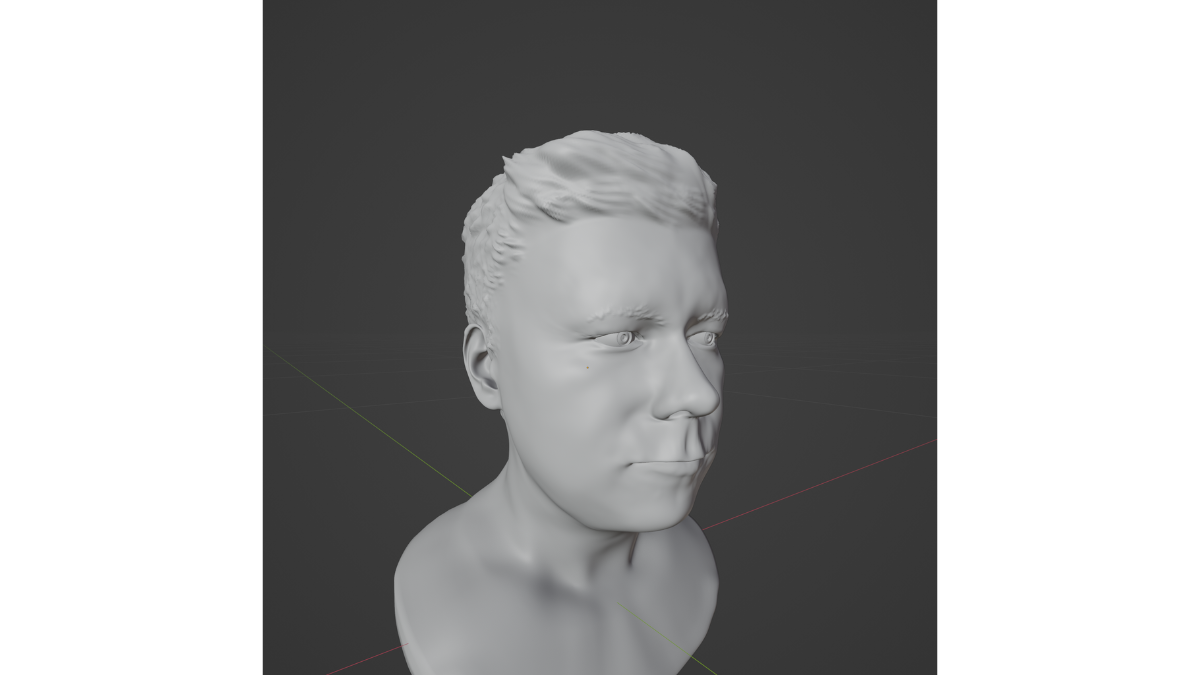
Add Details
- Use sculpting tools to refine features like wrinkles, moles, and hair texture.
- Extrude eyeball faces inward for a realistic iris and pupil effect.
Example:
Prepare the Hair
- For short hair: Use “Hair_offsets” blend shape.
- For long hair: Convert strand hair to a mesh, apply modifiers, and remesh.
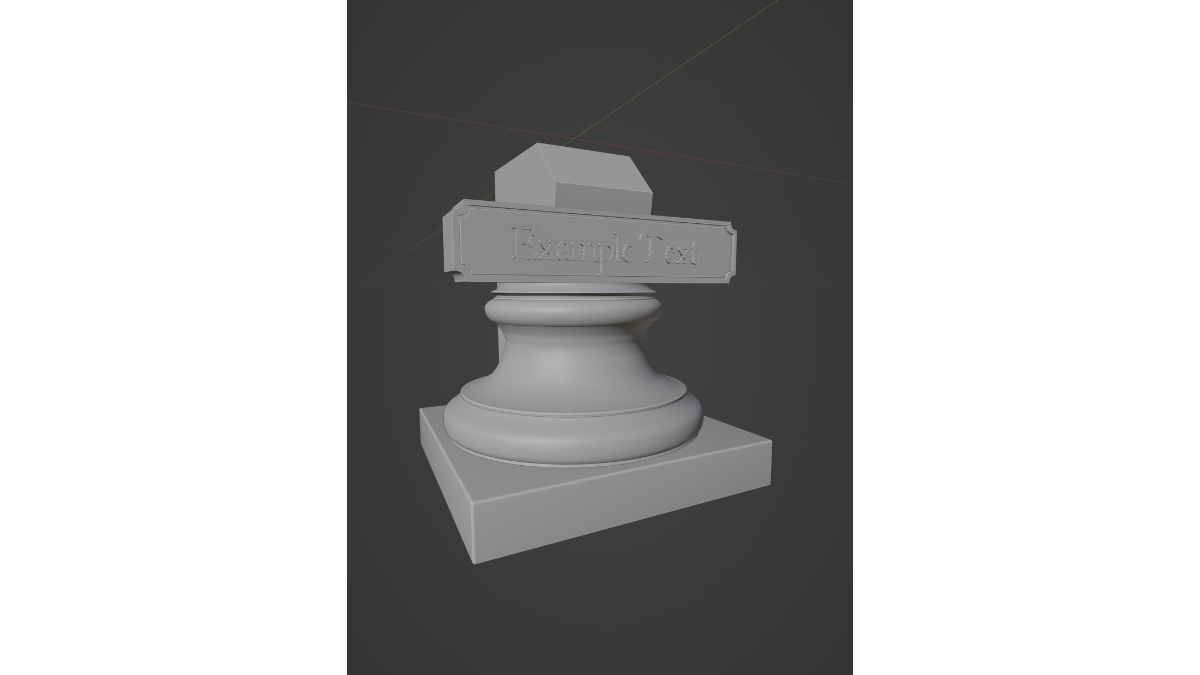
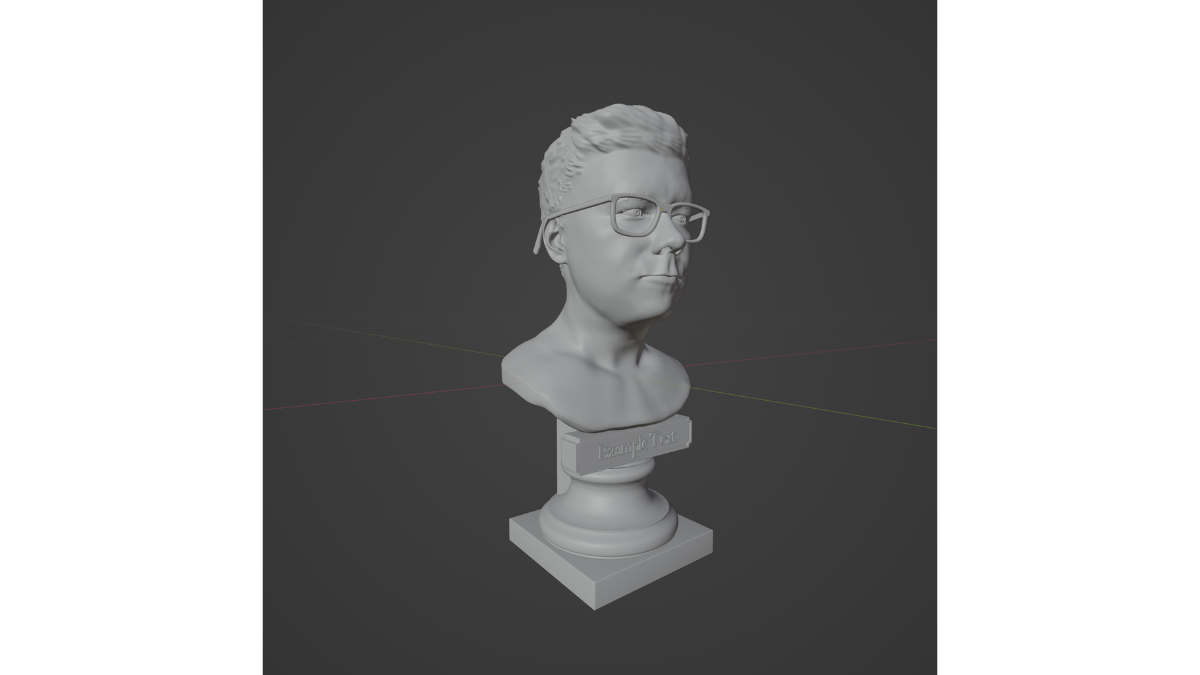
Add a Base and Accessories
- Model a stable base for 3D printing.
- Add accessories like glasses or jewelry (best printed separately and attached later).
Examples:
Step 3: Prepare and Print Your Model
Import Your Model
- Use slicing software (e.g., PrusaSlicer, Slic3r).
- STL, OBJ, and 3MF formats are commonly supported.
Example:
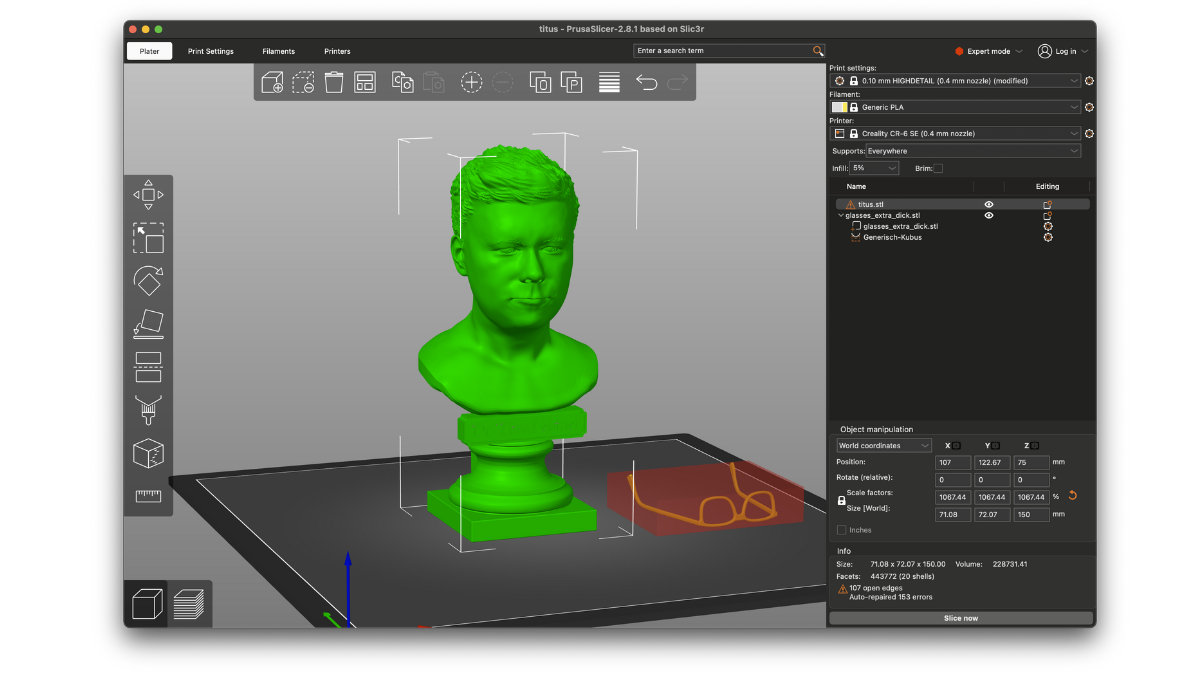
Position and Scale
- Place the model correctly on the build plate.
- Adjust orientation to minimize supports and improve stability.
- Use smaller layer heights for higher detail (but longer print time).
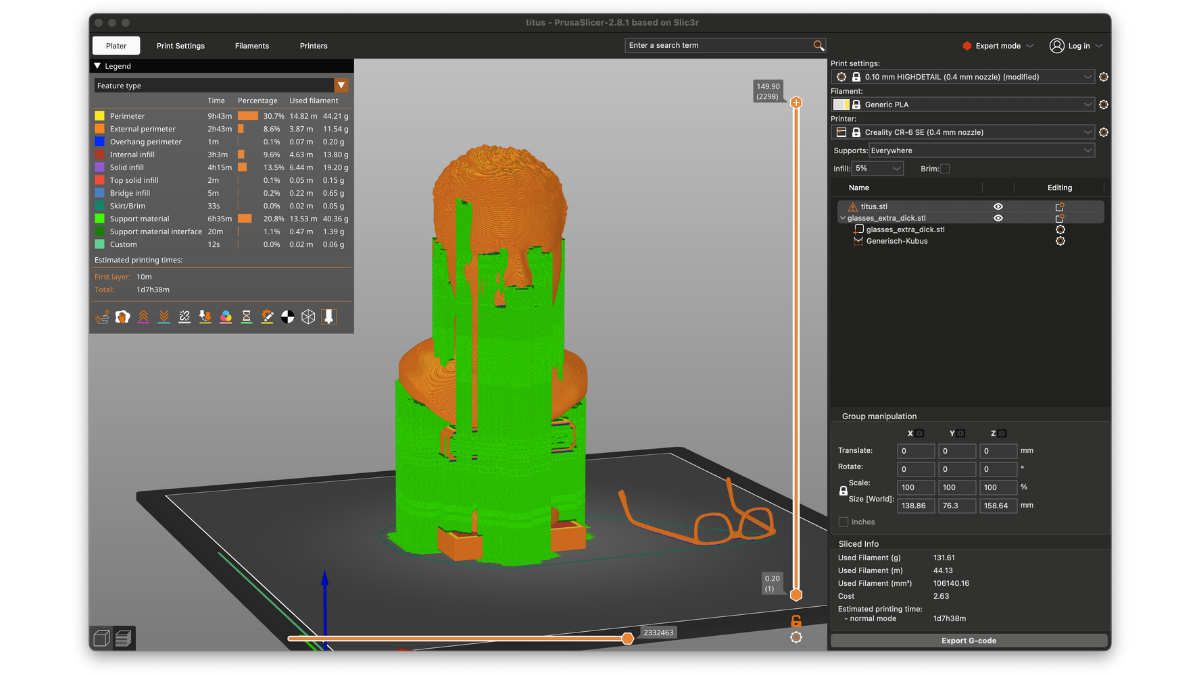
Add Support Structures
- Essential for overhangs.
- Consider printing the model flat to reduce supports.
Generate G-Code
- Adjust settings as needed and generate G-code for your printer.
- Use a budget-friendly FDM printer with PLA filament for best results.
Example:
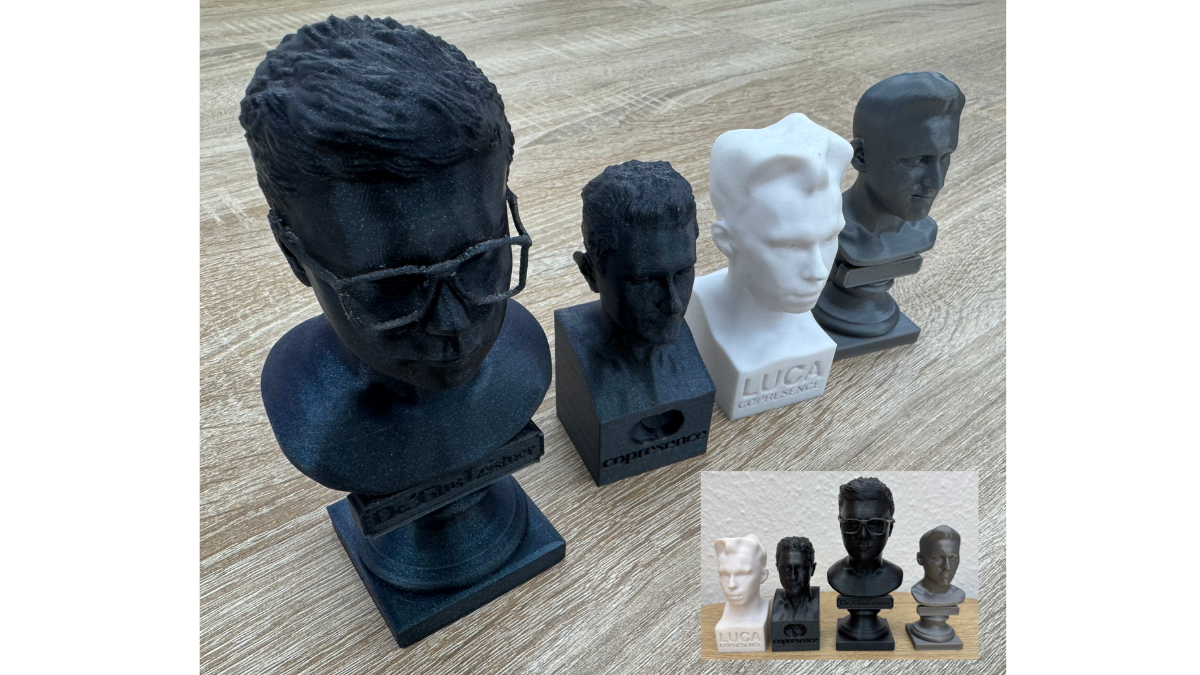
Start Printing
- Be patient as your printer completes the process.
- Carefully remove support structures post-print.
Example:
Additional Notes on Printing
- Printing results depend on printer type, slicer settings, filament, and print profile.
- Experiment with different configurations to optimize quality.
- If you don’t own a printer, many paid services can print your model affordably.
- This guide used cost-free tools and a budget-friendly FDM printer to ensure accessibility.
Showcase Your Creation
We’d love to see what you’ve made! Share your 3D-printed models with us on social media and tag #CopresenceCreations. Let’s celebrate the fusion of digital and physical worlds together.
Discover the future of self-expression with Copresence. Scan, model, print – and bring your virtual self to life!