Unreal Engine 5
This tutorial is based on Unreal Engine 5.4.
Avatar Import
This section will show you how to import Copresence avatars into Unreal Engine. As a prerequisit, you need to have a Copresence account and a recorded avatar with exports unlocked. If you don’t have an unlocked avatar, you may also choose the default ‘Demo Avatar’ which is added to every account and unlocked by default.
Log into the Copresence web app and select your unlocked avatar. Click the ‘…’ and choose download. Select GLB and download the .glb asset file.
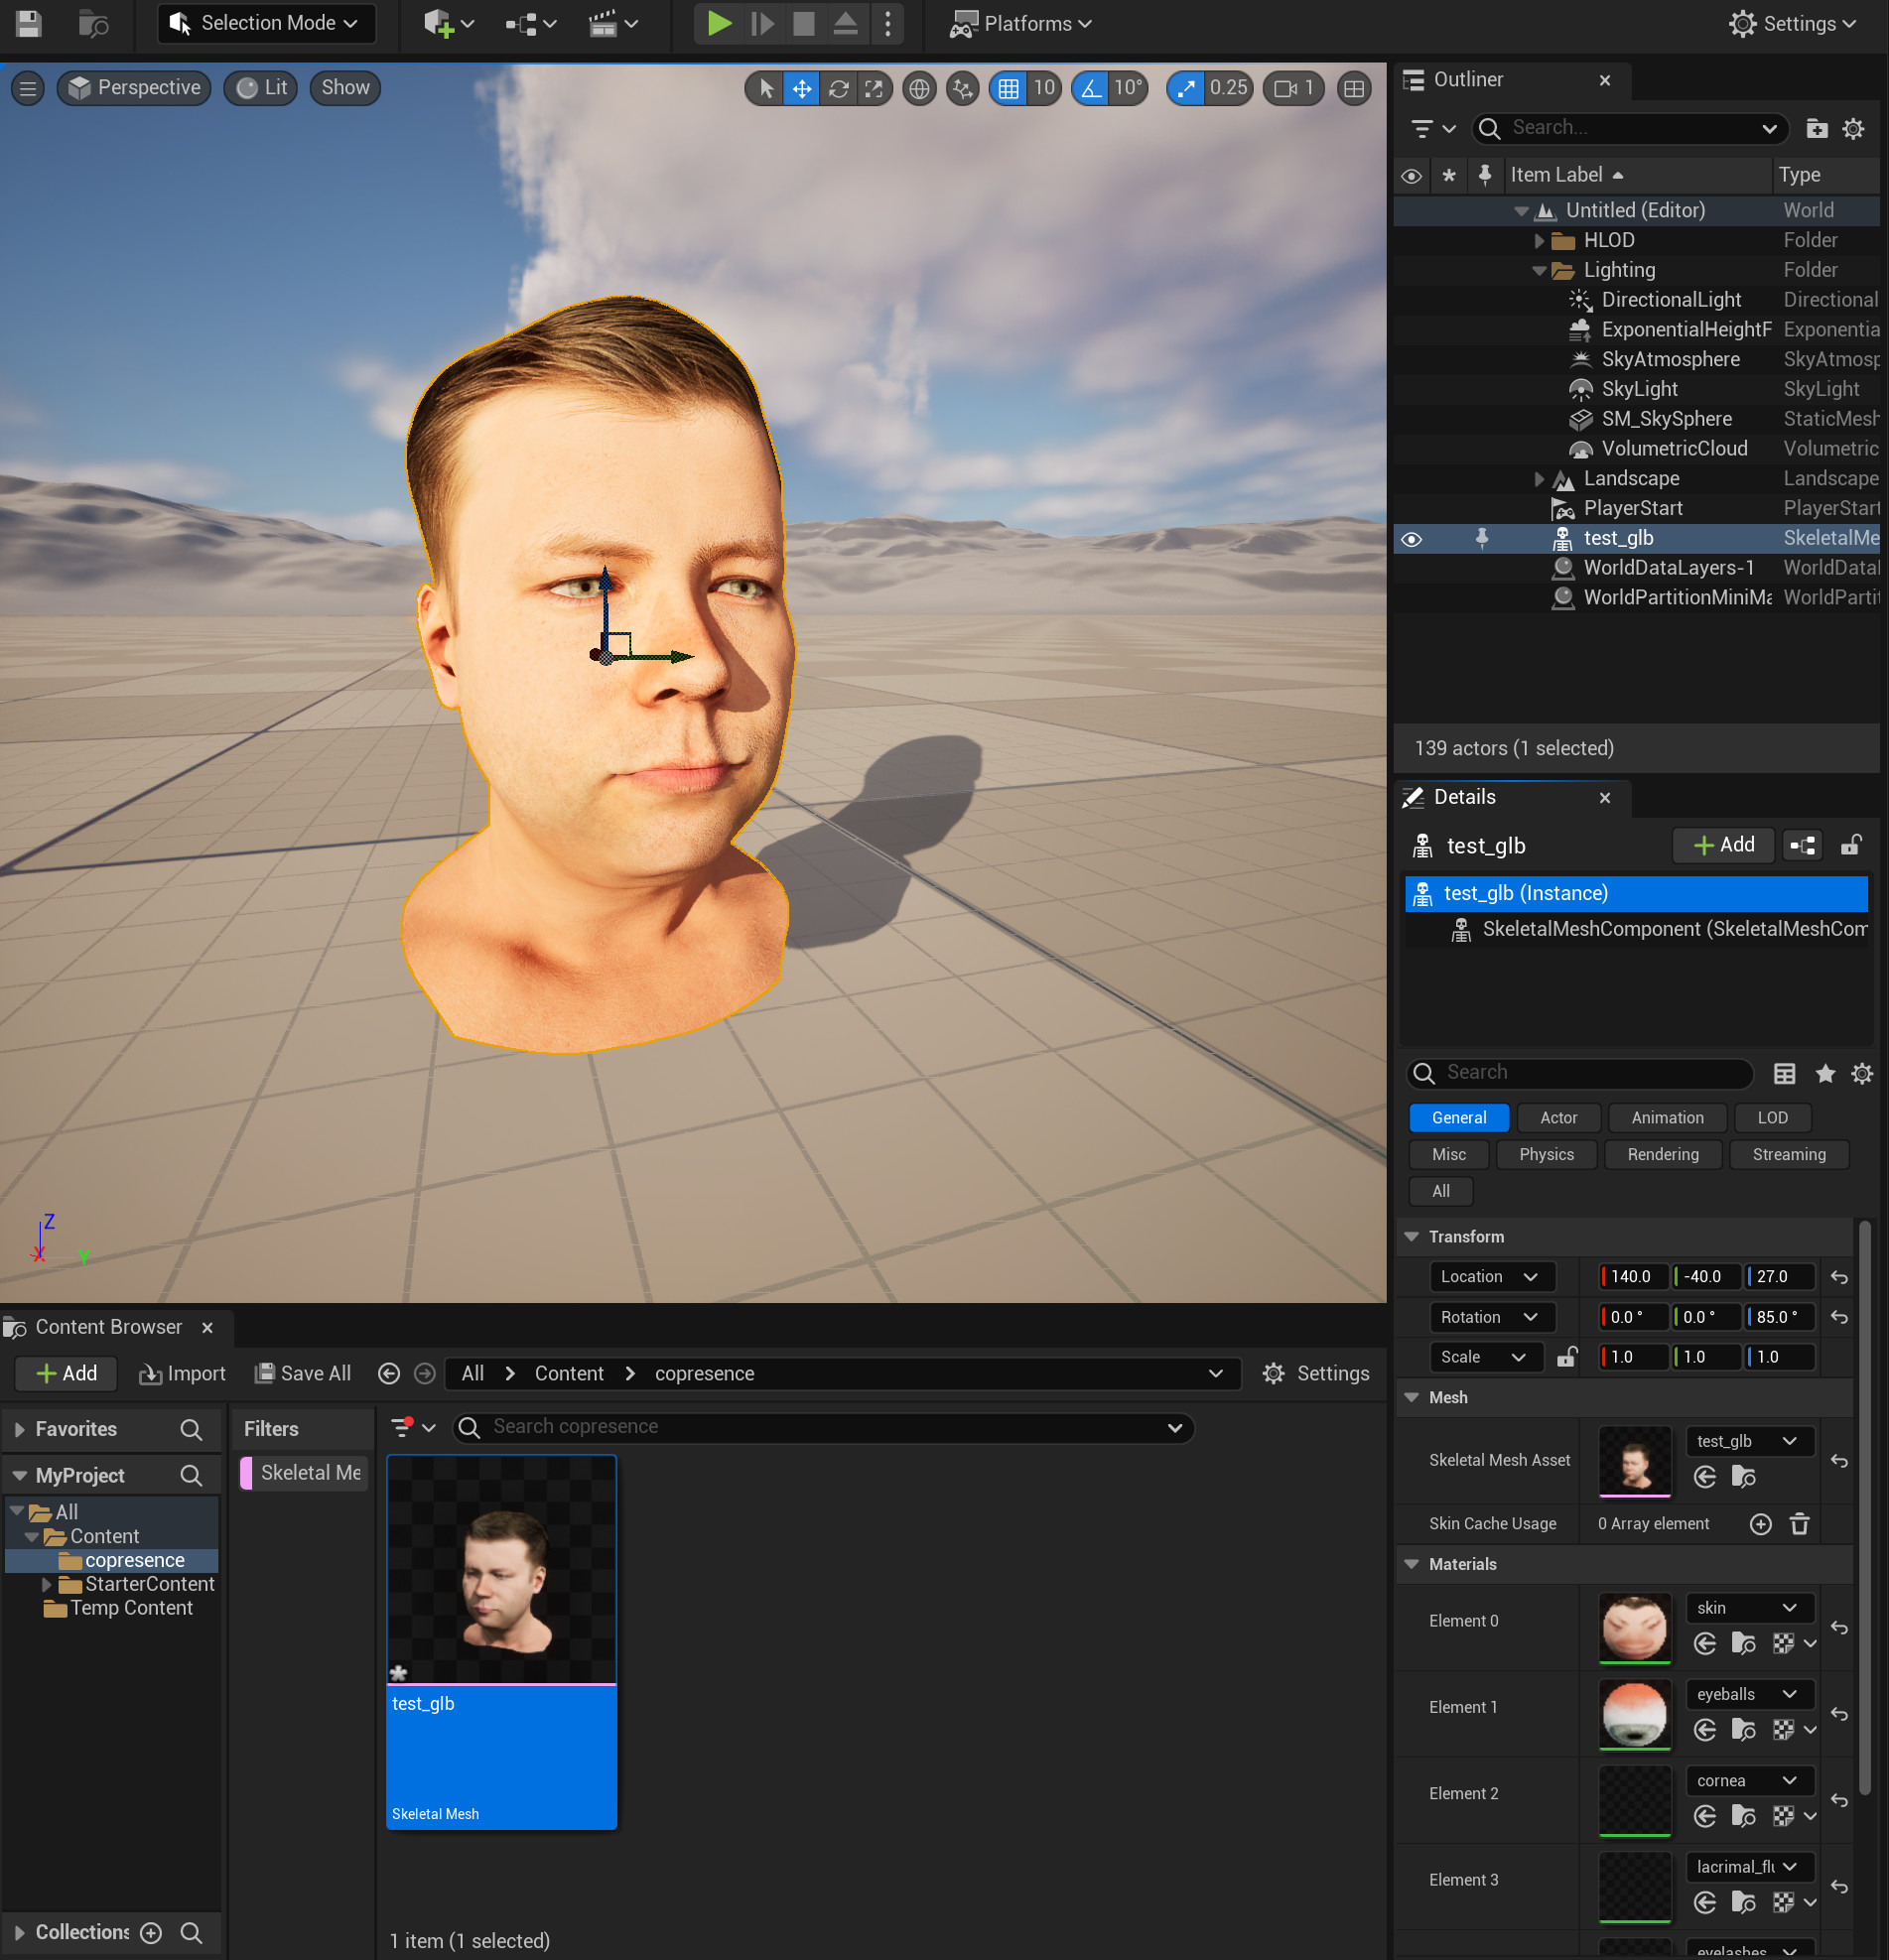
Open the Unreal editor and navigate to your content browser. Click the the Import-button and select the exported .glb file. A dialog will open. Select DefaulGLTFPipeline (if not selected by default) and confirm by clicking Import again. Afterwards, mesh geometry, blendshapes, bones, materials and textures should be imported correctly and your avatar is displayed in the assets list.
Locate the Skeleton Mesh object from the list of imported assets and drag it into the scene.

Head Animation using LiveLink
Copresence avatars ship with expression blendshapes and facial bones which are directly compatible with Apples ARKit blendshapes and Epic’s LiveLink facial tracking app. An in-depth guide for setting up LiveLink connectivity in Unreal and the corresponding iOS app can be found here. The steps show you how to use the tools in order to animate the imported avatar.
Prerequisites for LiveLink animation
iOS Device with support for ArKit and TrueDepth sensor
LiveLinkFace App installed on your iOS device